Layer by Layer: Understanding the Oil Painting Process
The Beauty of Oil Painting
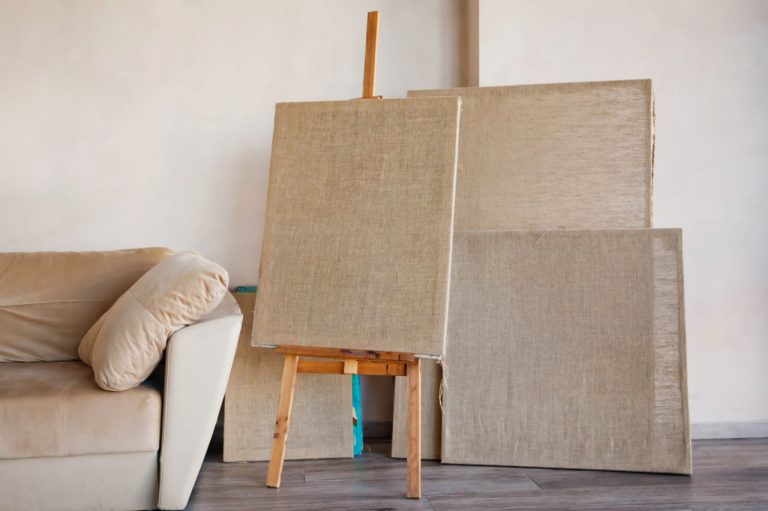
Oil painting is a timeless art form that has captivated artists and viewers for centuries. Its rich textures, vibrant colors, and ability to create depth and luminosity make it unique among painting mediums. However, mastering oil painting is not just about applying paint on a canvas—it involves understanding a deliberate, layered process that transforms a blank surface into a finished work of art. Each layer contributes to the painting’s structure, mood, and longevity. By appreciating this process, artists can work more confidently and produce paintings that stand the test of time.
Why Layering Matters
The oil painting process is often compared to building a house. You don’t start with the roof; instead, you lay a strong foundation and gradually add structural elements before the finishing touches. In oil painting, layering helps control the drying times, prevents cracking, and enhances color vibrancy. It also allows artists to refine shapes, adjust values, and create complex textures that would be impossible to achieve with a single application of paint.
Moreover, layering oil paint helps you manage the “fat over lean” principle—an essential guideline that prevents paint from cracking as it dries. Simply put, each successive layer should contain more oil than the one beneath it, allowing the paint to dry evenly.
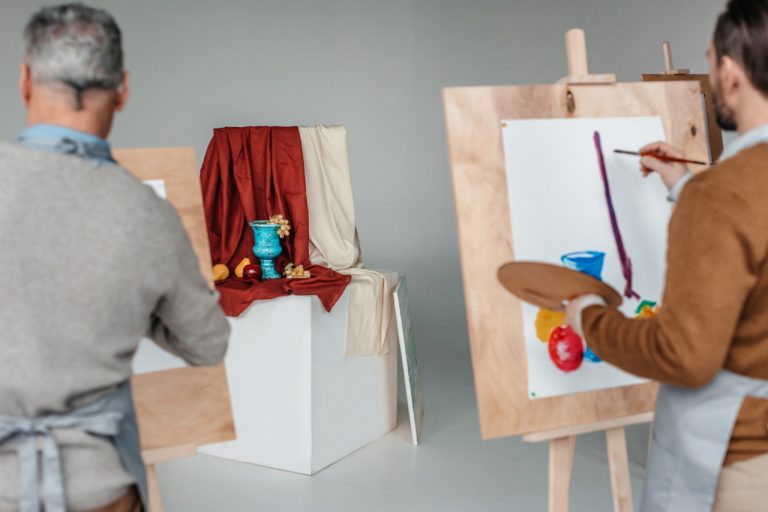
The Underpainting: Setting the Foundation
The first step in the oil painting process is the underpainting. This initial layer is typically monochromatic, often using earth tones like burnt sienna or umber. The goal is to establish the composition, values (light and dark areas), and major shapes without focusing on color. The underpainting serves as a roadmap, helping the artist maintain proportion and structure throughout the painting.
Many artists use a thin, diluted paint to keep this layer light and flexible. This approach speeds up drying time and provides a stable base for the next layers. Some painters use different methods such as grisaille (a gray-scale underpainting) or imprimatura (a toned ground) to achieve the desired effect.
Blocking In: Building Basic Colors and Shapes
Once the underpainting is dry, the next step is “blocking in” colors and shapes. At this stage, artists apply broad strokes of color to define the general areas of the composition. Details are still minimal, but the painting starts to take on its basic color scheme.
It’s important to focus on the big picture here—accurate colors, shapes, and values—without worrying about fine details. This stage often involves using more opaque paint to cover the underpainting, laying down thicker, richer colors that will become the foundation for subsequent layers.
Developing Details and Textures
After the blocking in stage, artists move on to refining the painting with additional layers. Here, the work becomes more intricate: edges are softened or sharpened, highlights and shadows are adjusted, and textures are introduced. This is where the artist breathes life into the canvas.
The paint used in these layers is often thicker and more buttery, allowing for brushstrokes that add dimension and interest. Techniques such as glazing (applying thin transparent layers of color) or scumbling (dragging a dry brush of opaque paint over a surface) can create luminosity or texture.
Artists carefully consider the drying time between layers, sometimes waiting days or even weeks to ensure each layer is fully dry before continuing. Patience is key during this phase, as rushing can lead to muddy colors or cracking later on.
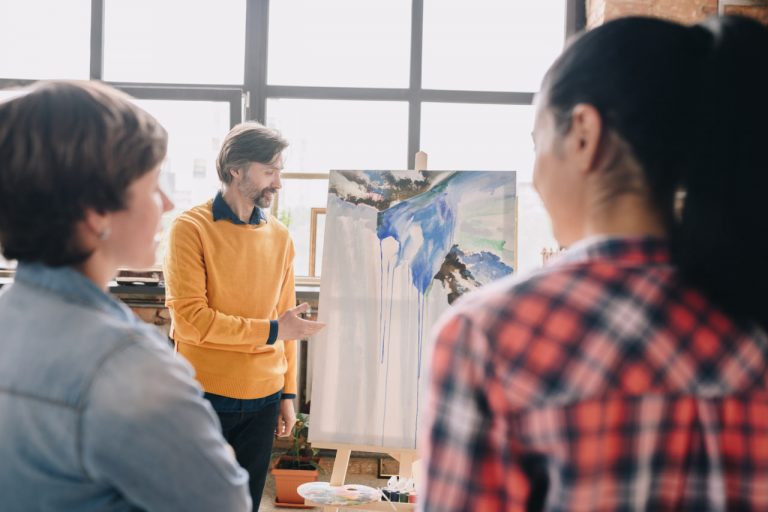
Final Touches: Bringing the Painting to Life
The final layers of an oil painting focus on highlights, fine details, and subtle color adjustments. This is the time to add sparkle to the eyes, glints of light on reflective surfaces, or the softest transitions in the background. These touches elevate the painting from a mere representation to an evocative work of art.
Many artists also apply a final varnish after the painting has dried completely, often months later. Varnishing protects the surface, enhances the colors, and unifies the painting’s finish.
The Role of Patience and Planning
One of the biggest challenges in oil painting is learning to work with its slow drying times and layering requirements. Unlike fast-drying acrylics, oil paints demand patience and strategic planning. Rushing can cause technical problems like cracking or poor adhesion between layers.
Developing a practice that respects the natural rhythms of oil paint allows artists to experiment and adjust as they go. Each layer can be evaluated and improved, creating a dynamic and rewarding process. Over time, painters learn to anticipate how their colors and textures will evolve as layers interact.